|
2022-2023 This project began as a simple inspection to attempt to resolve a sagging ceiling from removed wall from a previous owner. The project ballooned into a permitting dis-entanglement and a number of structural fixes for a number of problems left by the previous owner: a house-flipper. |
|
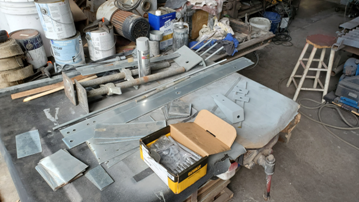
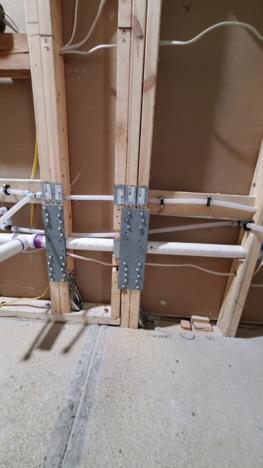
Fasteners, straps 7 plasma cut truss plates & anchor straps for anchoring/fabricating the steel stud trusses |
|
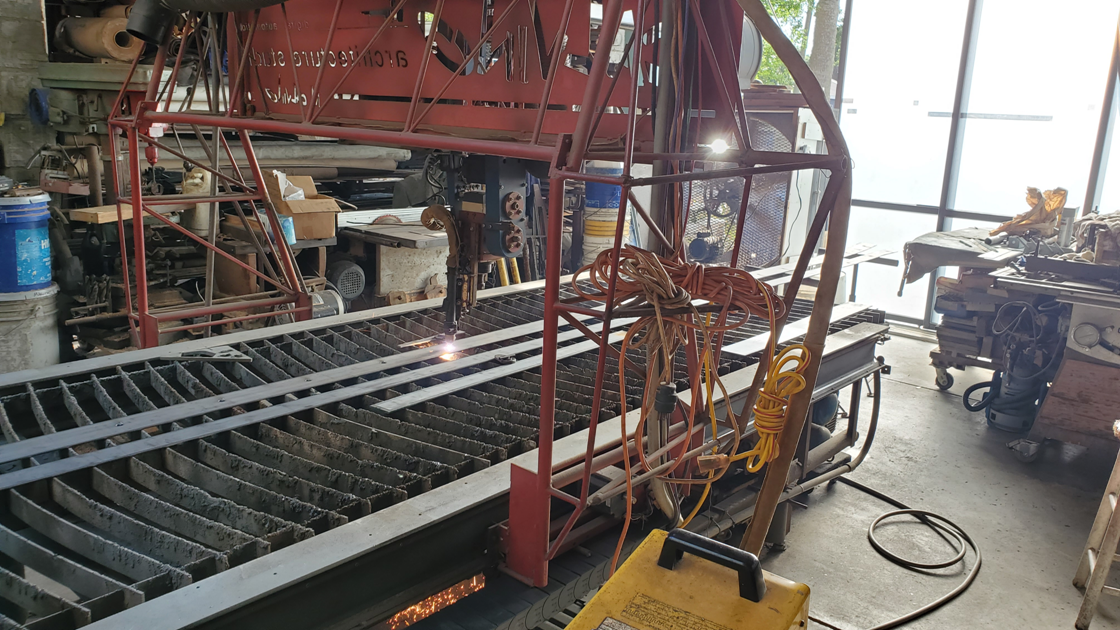
Plasma cutting the anchor holes in the steel flat bar straps that will reinforce the concrete beam between the east room & the kitchen/dining area |
|
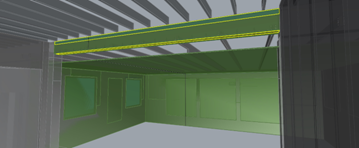
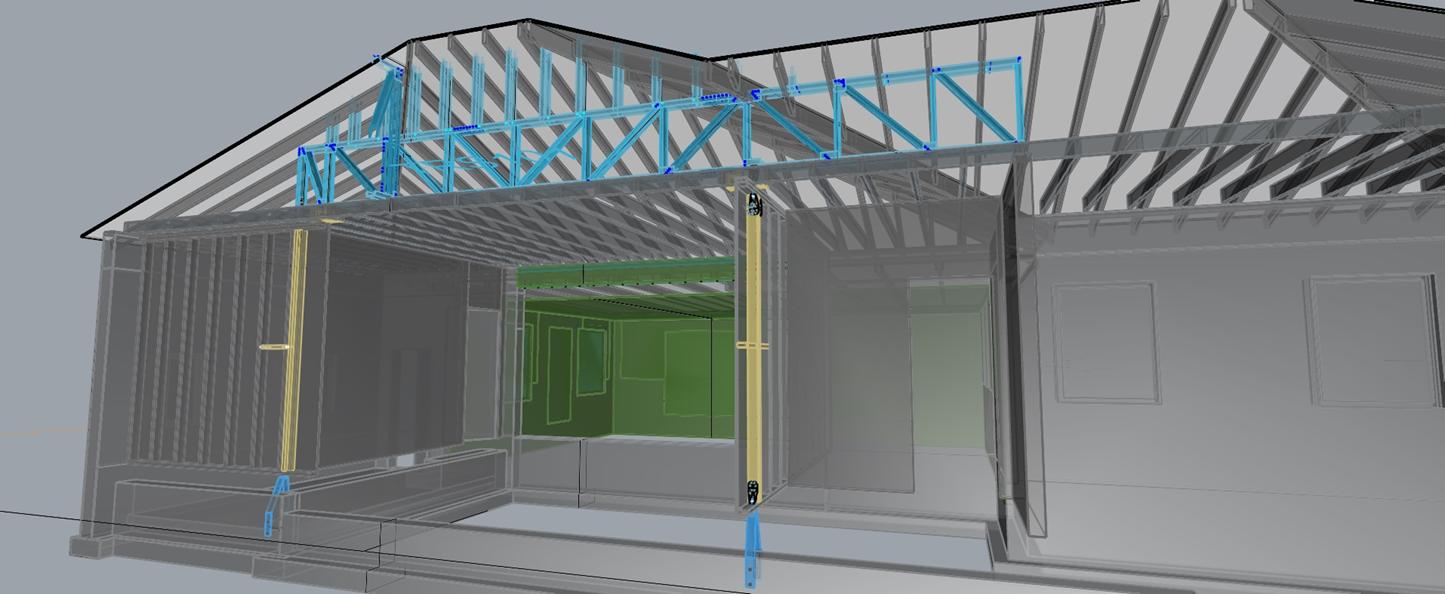
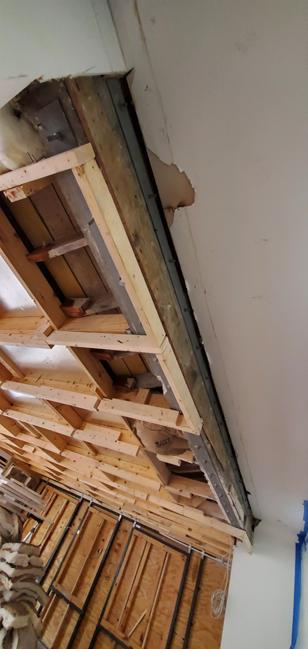
Section at the new east support truss for the ceiling joists where an interior bearing wall was removedd by the “house flipper” |
|
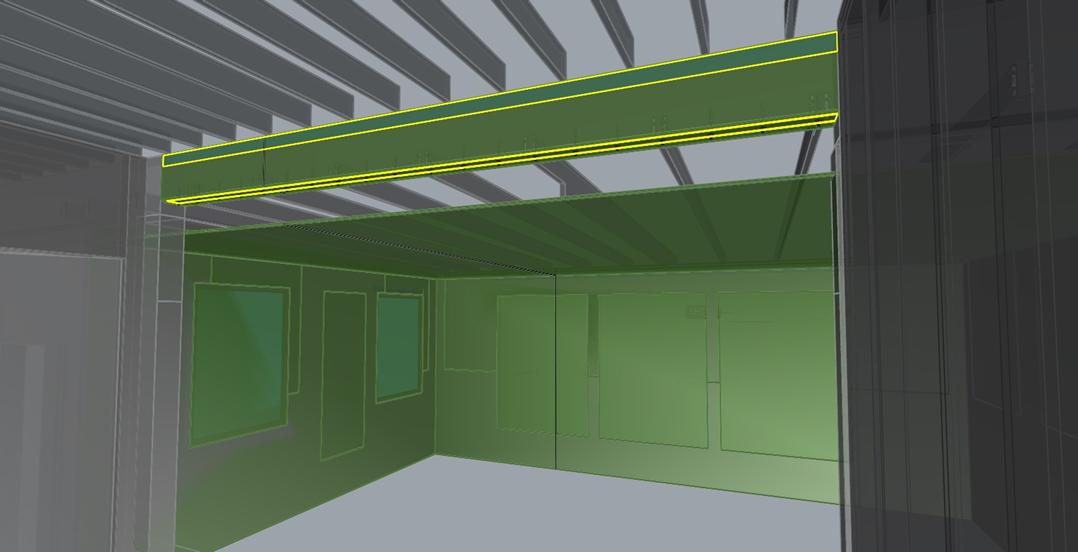
the concrete beam between the east room & the kitchen/dining area |
|
2023-03-24 Steel studs & track to come in 3/29 Projected truss fab/install date: 4/6—4/7 |
|
Section at the new north support truss for the ceiling joists where an interior bearing wall was removed by the “house flipper” |
|
Right: Next on the schedule for this one is to demo all the drywall from the east room & add joists to the roof framing, reinforce a concrete beam which is now undersized because the flipper took out two support pilasters, & add uplift resistance straps & anchors which are all missing. |
|
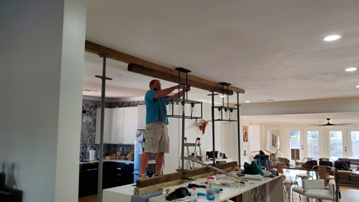
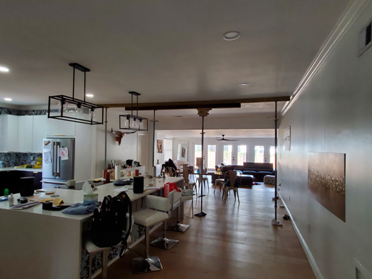
Above: the first ceiling support jack for the east truss, the ceiling was not deflected too badly here, maybe 1/2-3/4”.
Right: The trusses are anchored through the wall studs and into the floor beams, then to the foundations with steel straps, anchors, and plates.
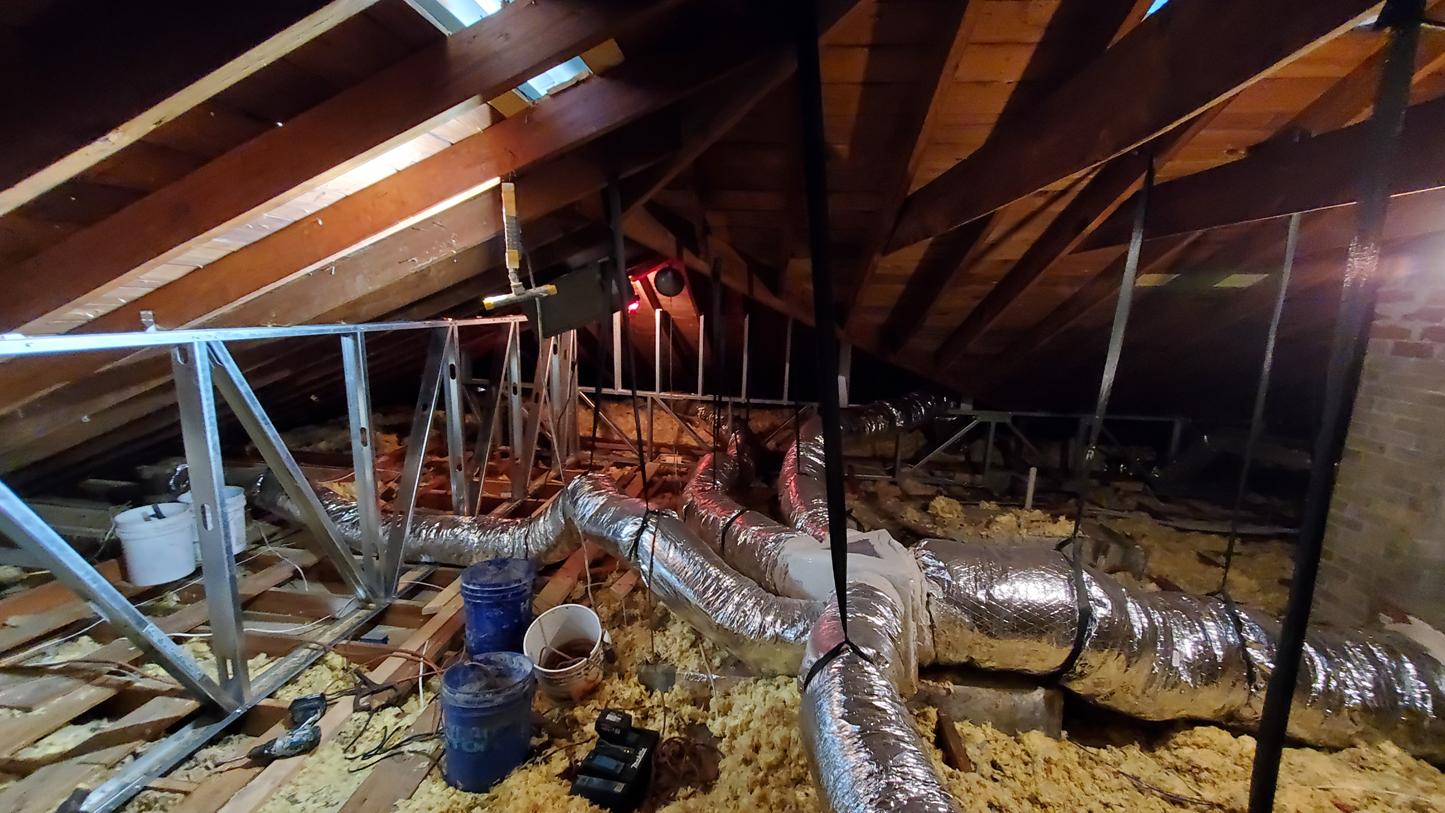
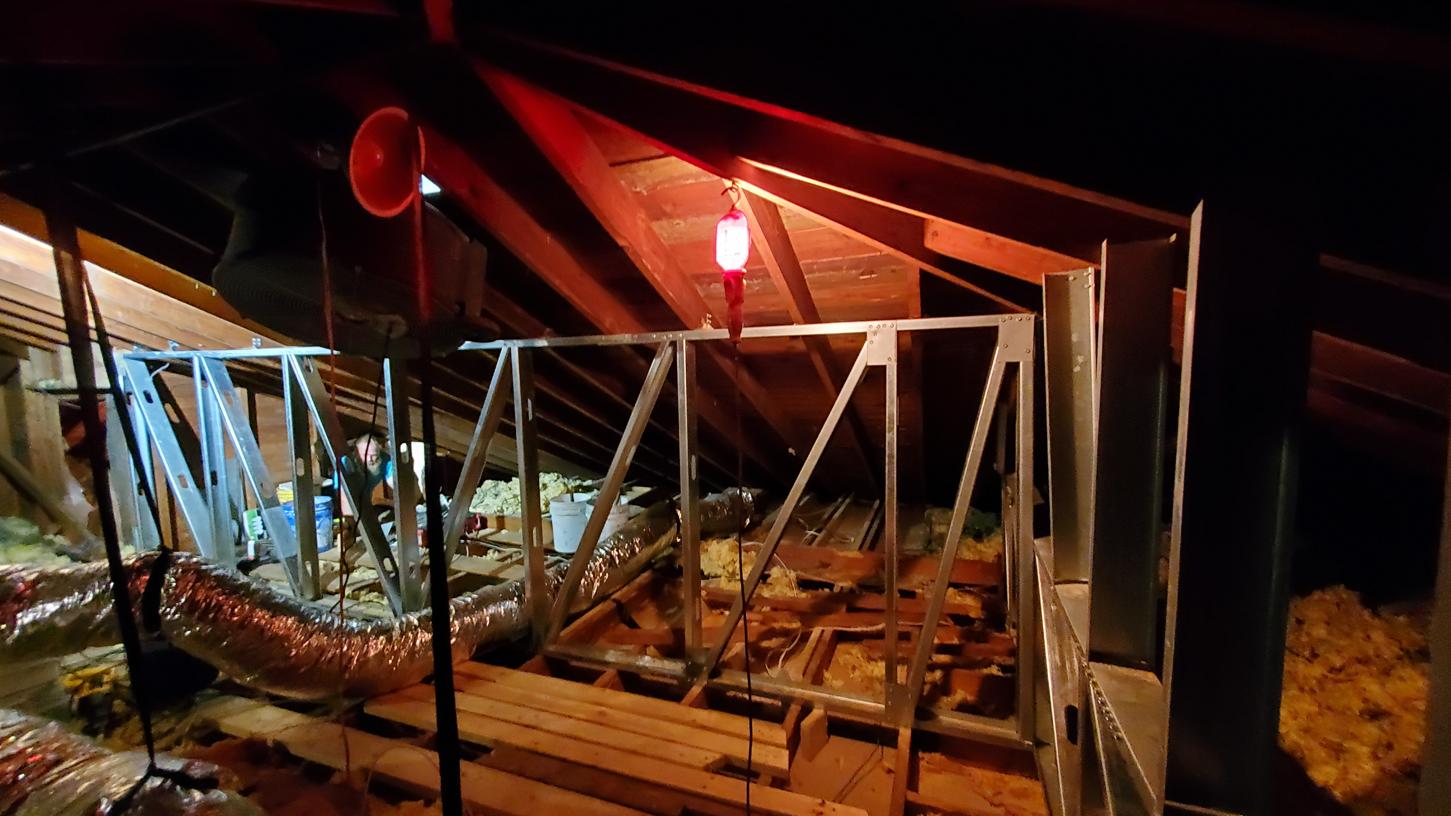
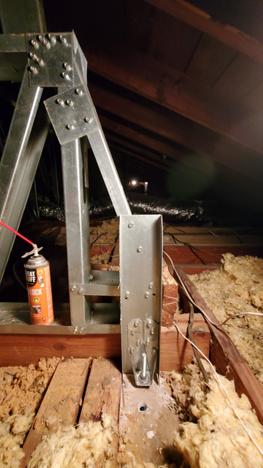
Far Right: the East truss made of 16 & 20ga. Steel studs & track. The trusses also anchor the roof rafters.
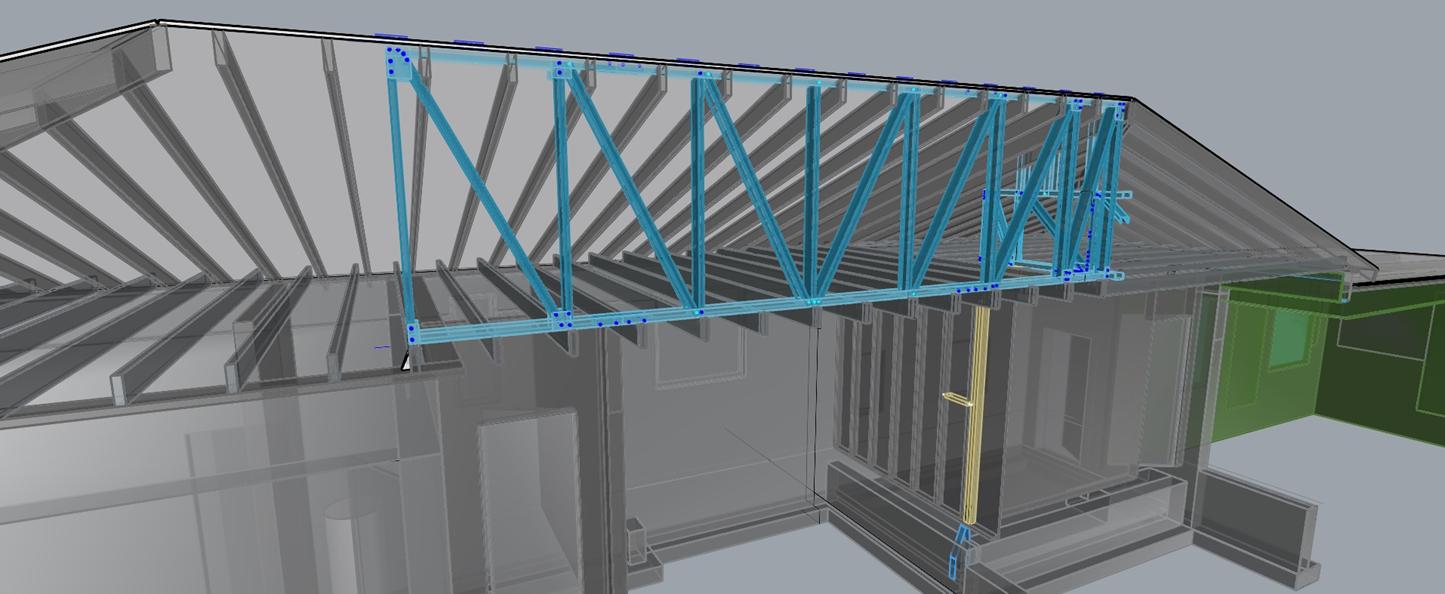
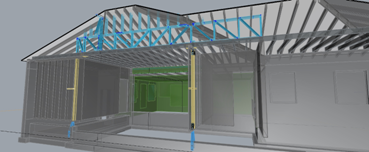
Below: the Rhino Model of the east truss in the attic space. |
|
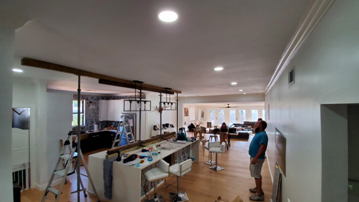
The first task is to support the ceiling that is deflecting horribly above the kitchen where the flipper took out a couple of bearing walls (they were supporting the ceiling joists anyway)
A million thanks to Derek Iampieri of DVI home services for his help, experience, and professionalism doing these trusses |
|
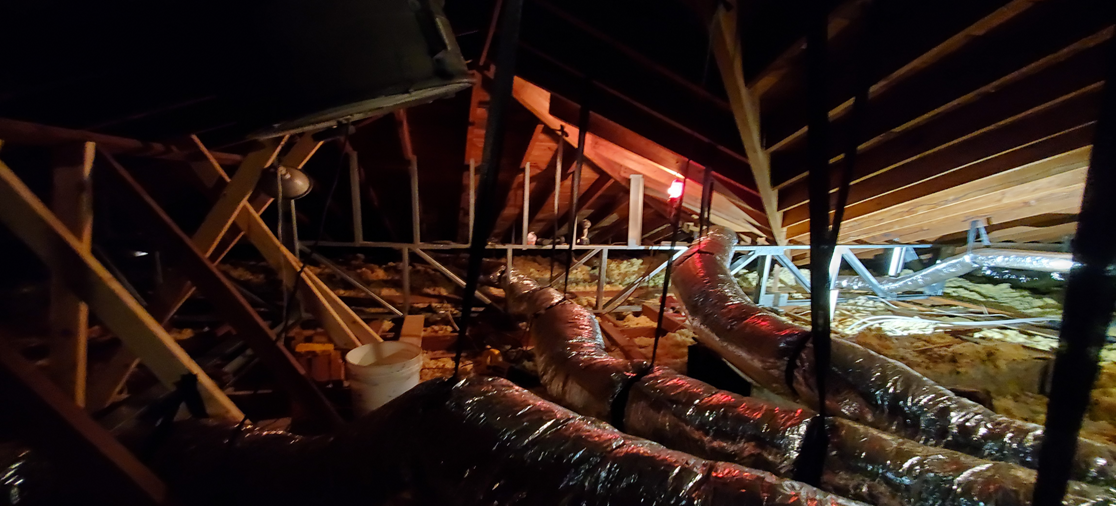
Right: the two trusses in the attic: The North Truss (at left here) is supported by the East truss . . . You can see it in thee digital model images. |
|
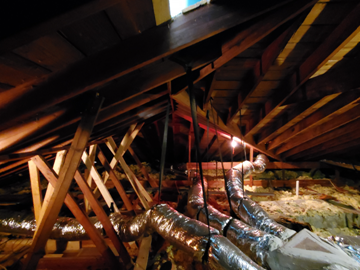
Above: the attic before the fix . . . Notice the excuse for ceiling support, the haphazzard 2x4’s—many not even nailed into the joists . . . !! |
|
Above: just before jacking up the ceiling . . .
Below” after jacking it up probably close to 2” . . . It didn’t move when we released the & removed the jacks! Success! |
|
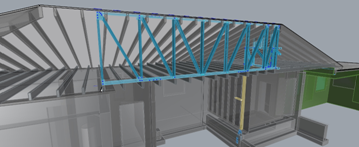
Right: the North truss (~5’ deep & spanning about 18’) 16 & 20 ga. Steel studs & track.
Below: the Rhino model of the north truss |
|
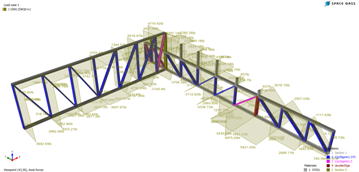
Below: a screen shot of the structural analysis of the north truss in Space Gass |
|
©2024 CALVINO architecture studio, inc all contents of this publication whether in digital or analog format are the express property of CALVINOarchitecture studio, inc. and shall not be reproduced by any means without written consent from Mike Calvino |

|
The Bell House—Initial Repairs and fixes |
|
The Bell House Phase 2: Guest House, Pool, Carport & More
Phase2, Carport Canopy, Initial Layout Concept
Initial Repairs and fixes |
|
The Bell House Phase 2: Guest House, Pool, Carport & More
Phase2, Carport Canopy, Initial Layout Concept
Initial Repairs and fixes |